Bob Clarke’s 1965 MAD Zeppelin: The Assembly Continues
Putting the Ship Together (Figures 4-7)


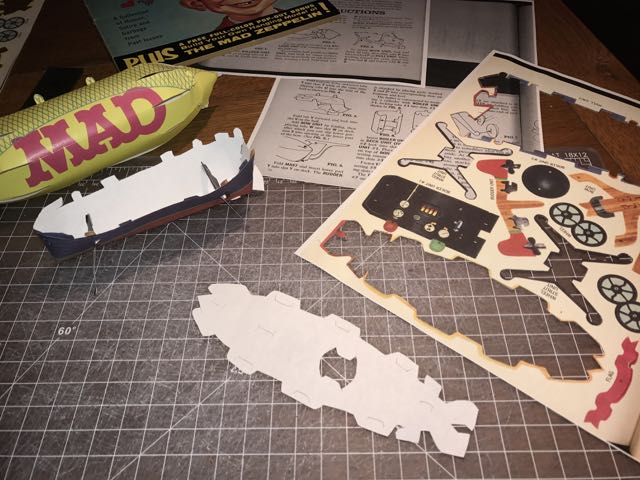
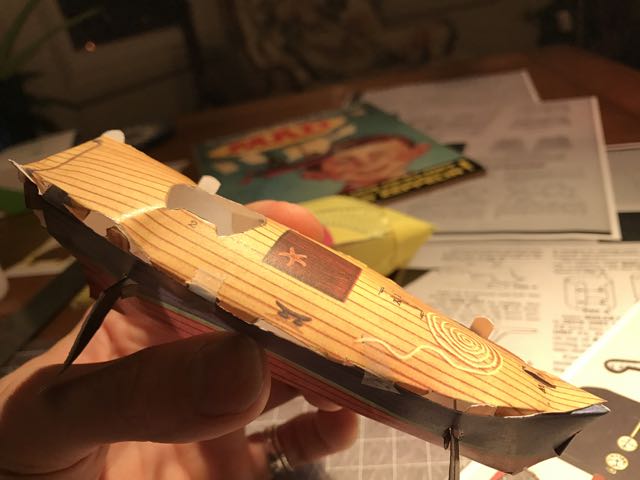
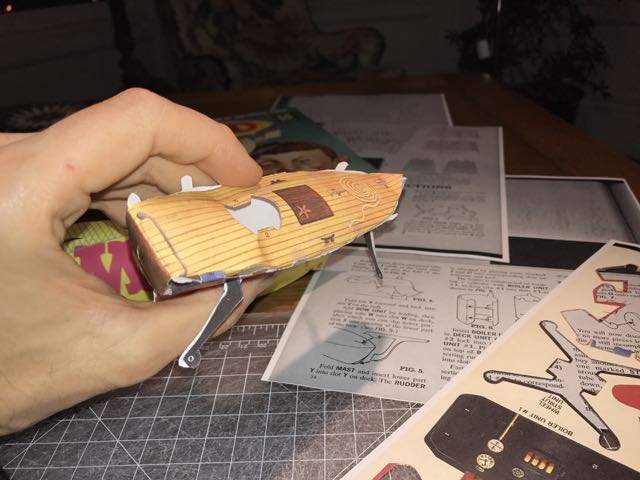
FIGURE 4: ATTACH DECK UNIT
Looking at the Deck and Hull Units, one can easily see that the outer edges of each part are mostly tabs and slots. Clarke chose not to include an illustrative figure to show these two parts connecting. We will never know why he thought the super-easy Figure 3 needed to be illustrated when I had major struggles putting the Deck Unit into and on the assembled Hull.
I think one difficulty for me was the fact that I made the color copies of the MAD Zeppelin with basic 20lb copy paper. TIP: At this point, I realized that I should have used a heavier stock of paper that was similar in weight to the paper stock of the original insert.
My copy Zeppelin felt very fragile at this stage of assembly, and it got more delicate and precarious for the final bits of assembly. TIP: I had to make the cuts on the tabs (Tabs P and Q) of the Hull and Deck deeper in order to make these pieces insert in a way that didn’t keep the deck from popping up and out. TIP: As you can see from my photos, I put small pieces of tape over the middle connections of these two parts. They kept popping out as I tried to work the end tabs. Not pretty, but it keeps things together.