Bob Clarke’s 1965 MAD Zeppelin: The Final Steps
Adding the Final Touches, and Hanging It Up (Figures 8-9)
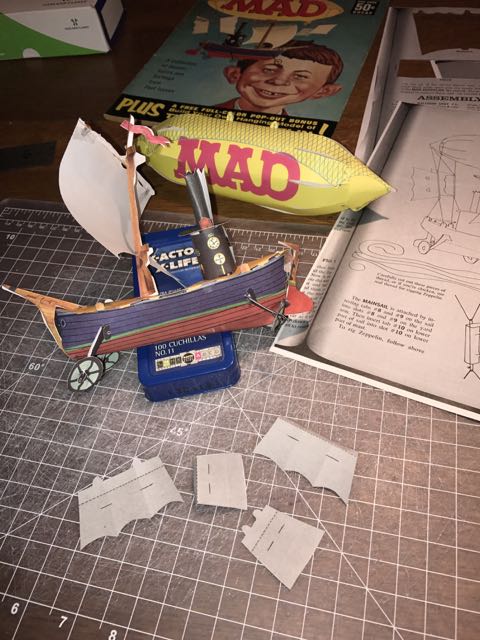
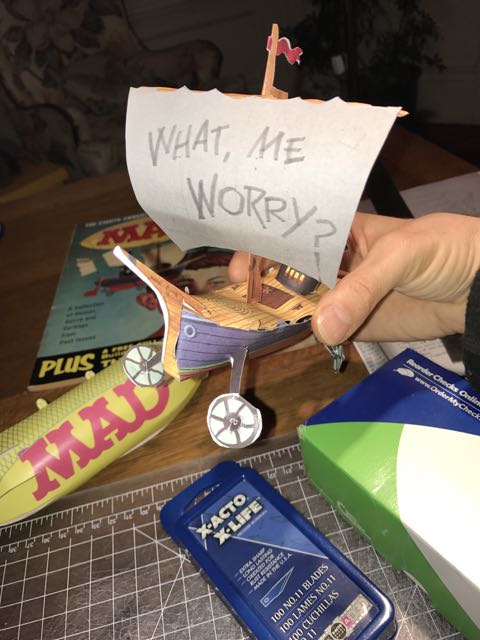
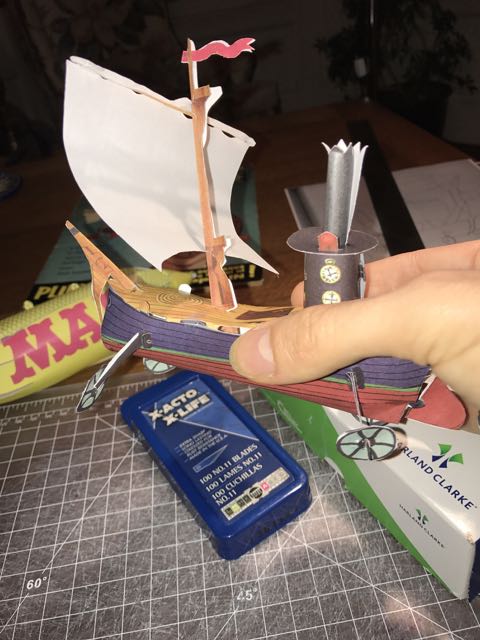
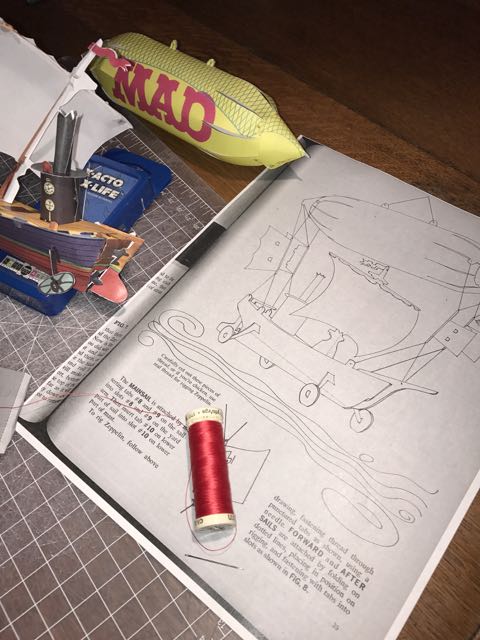
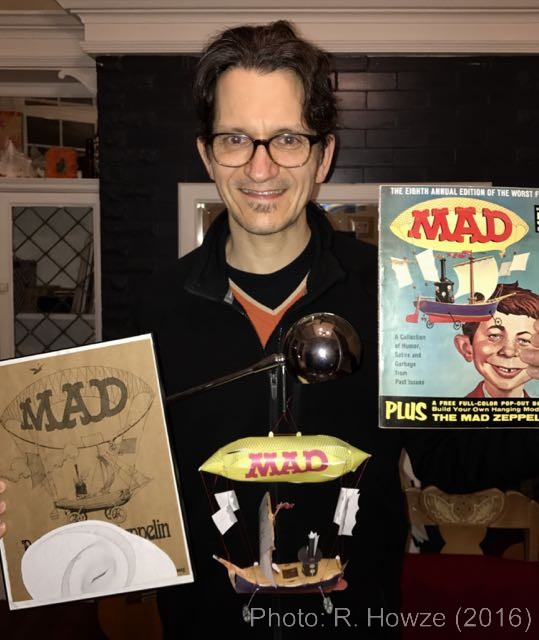

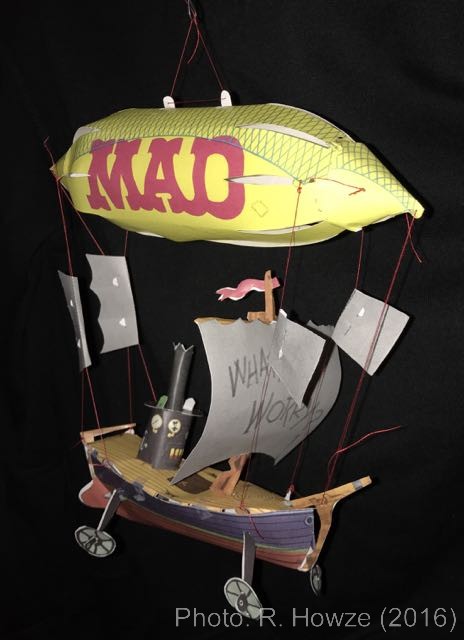
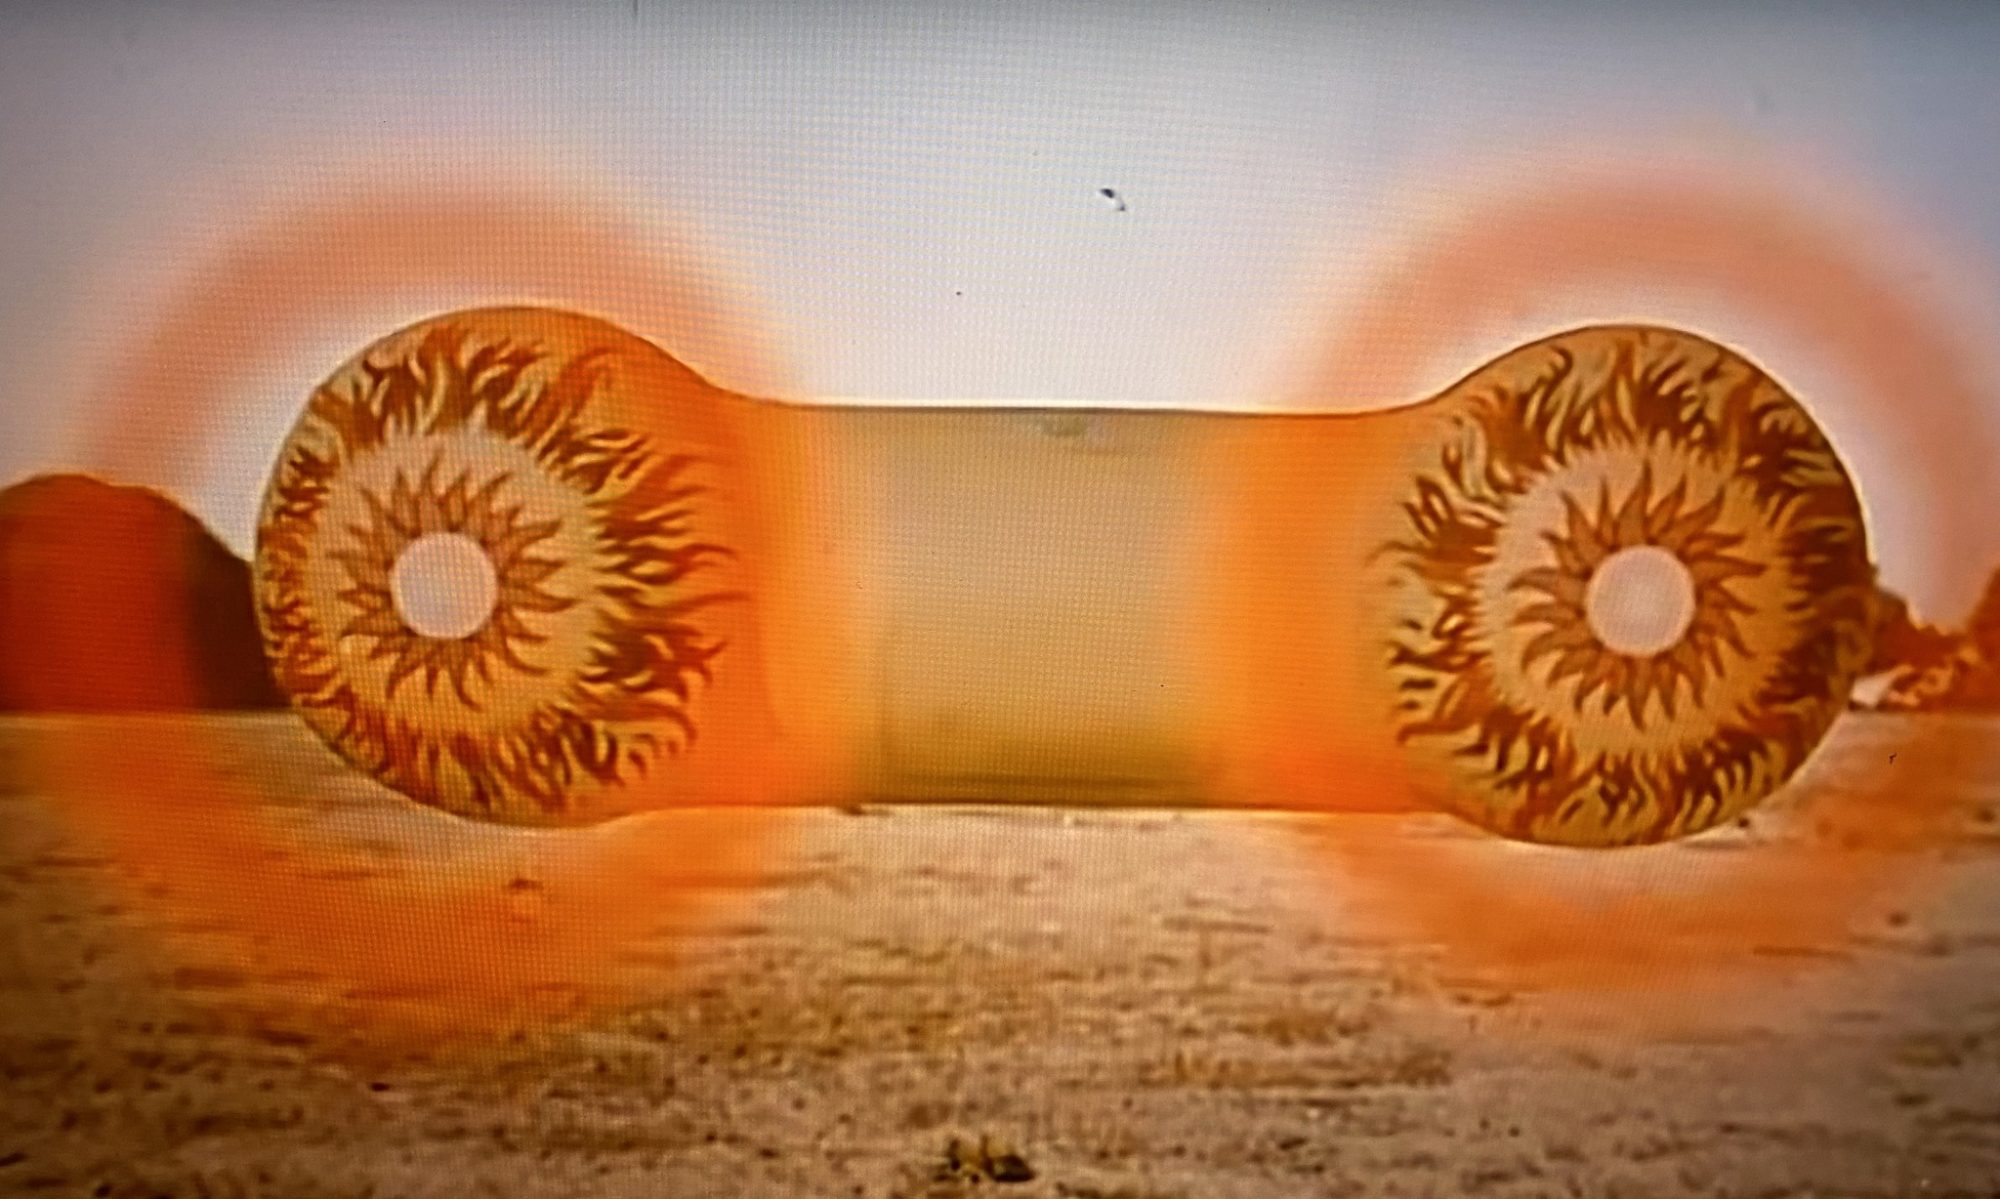
FIGURE 8: THE SAILS
At this point, the only steps left are installing the Mainsail and Forward and After Sails. Oh, and the stringing of the two main parts. I chose to make black and white copies of the sails. Clarke’s original inserts are black and white and one-sided (probably to save money in printing and design costs).
Not sure why Clarke drew the FIGURE 8 illustration for the Small Sails. Their installation is straightforward. As for the Mainsail, the lack of structure for the mast caused the Yardarm and Mainsail to keep falling apart. This assembly needed patience and delicate finger work. As I tried to make this assembly, other parts of the MAD Zeppelin kept falling off.
TIP: Be resigned in the fact that you’ll have to adjust parts after stringing the parts up (see below).
WHAT, NO FIGURE 9?
Why did Bob Clarke NOT explain how to string the MAD Zeppelin? He gives no instructions, and instead draws some squiggly lines and gives a snarky direction to “carefully cut out these pieces of thread, or if you’re chicken, use real thread for rigging Zeppelin.” Huh? My only guess is that the editors figured no one would get this far, so why bother.
I had to stare hard at Clarke’s main Zeppelin illustration (FIGURE 9?) to try to figure out how to pull the thread. TIPS: Use blue thread to match the blue netting on the balloon part (I picked red). Use a needle to string thread through the tabs that Clarke designed in Hull and Balloon Units.
The main question of this whole process is how do I string this thing?
HOW I STRUNG THE FURSHLUGGINER ZEPPELIN
I didn’t have a plan at first, but slowly developed one. I picked a side of the Zeppelin and strung the front and back. I took my ruler and measured out a height of about 6 inches between the Balloon and Hull Units.
I used one piece of string for the bow of the Hull Unit and ran it up to the front tab of the Balloon Unit. for the other two bow Hull Unit tabs, I ran single strings up to the corresponding Balloon Unit tabs.
For the stern strings, I used one string for the Rudder tab and two strings for the tabs closer to the Boiler Unit. I tied the one side of the strings, all measured at around 6 inches, and then turned it over to run the other strings. I didn’t tie them.
TIPS: You may have to tie off some strings in loose knots to keep it from falling apart. Prepare to use your fine-pointed Xacto blade to pull the knots out to adjust. YOU WILL HAVE TO ADJUST ALL THE STRINGS AT SOME POINT. Make sure you have plenty of string slack beyond the knots for adjustments. You can trim it at the end. It will make the stringing messy. My delicate copy kept getting wrapped up in the strings. Patience is needed.
This is where the stringing became a TWO-PERSON JOB (and why I didn’t take photographs). I strung up the top two tabs of the Balloon Unit and put a Christmas tree ornament hook on it. I hung it on the light I was using and then asked my sweetheart to come help me hold parts as I did the final adjustments.
While the loosely-fitting MAD Zeppelin hung on the lamp, I had to keep adjusting the lower strings to so that the ship would look close to level below the Balloon Unit. Being very patient, my partner and I just had to keep adjusting, holding, and re-doing the knots. Wheels were falling off, the Mast Unit assembly parts were falling apart and out of the deck/hull. Patience!
Finally, we were both happy with the resulting distance of the two main parts (not as close as Clarke drew in Figure 9) as well as the level of the ship part. Whew. TIP: Don’t tie your knots too tight or you may tear through the paper tabs. The pieces are light so the string isn’t holding too much weight.
NOTE: In Figures 8 and 9, Clarke shows small loops of strings connecting top and bottom string triangles. I chose not to do it this way, especially since there were no real instructions about height, etc. Clarke’s method appeared to mean more strings to adjust. It may work better that way. If you try it that way, let me know if it does.
FINALLY
The 1965 Bob Clarke MAD Zeppelin is almost done. I just needed to put the wheels back on, delicately reassemble the Mast Unit and Mainsail parts. The Boiler Stack even fell out, so I had to slip that back in. Fortunately this is all paper, so nothing broke (or tore). Bending and folding may be a danger when strings get caught in the parts.
Then I put the sails on. Most of the artists who have drawn the MAD Zeppelin as “chicken fat” put the Forward Sails pointing away. I think it looks weird that the Forward Sails were pointing away from the After Sails.
Which way is the wind blowing? Maybe the smoke from the Boiler is pushing the After Sails away? If you know why, please reply. Either way, once assembled, the Forward Sails for this model have to point away from the Zeppelin in order to let the Mainsail have room to look cool and allow people to read “What, Me Worry?”
Indeed, no more worries after six hours of work making this crazy free insert from the Usual Gang of Idiots. As you may have read in my Prelude, I hope that all the Fan-Addicts out there enjoy my how-to. It was fun. Now I want to cut more paper and assemble it. Up next, at some point, is Bob Clarke’s MAD Mobile from the 1966 Follies. I already have the straws for that one!
After a few weeks of hanging and enjoying my completed MAD Zeppelin, it is still staying together. Every so often I have to straighten the Mast. The Hull is sagging a bit and sometimes the small sails drop down. These are all gravity issues which are easily fixed. The enjoyment continues.
Did you make your own MAD Zeppelin? Have one in your collection? Post photos and share how-to tips. We’re all in this crazy – er – boat/blimp thing together.
One Reply to “MAD Zeppelin: The Final Steps”
Comments are closed.