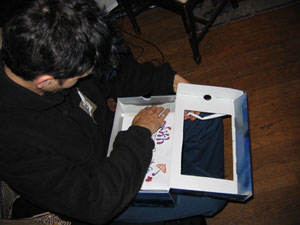
Step 1: Gather Shoeboxes
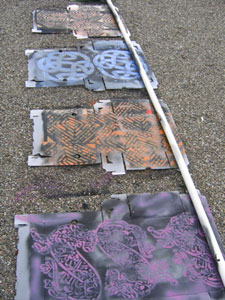
Once you have an idea to create as a crankie/cranky (you’re on your own for that), go to your local shoe store, ask for thrown-away shoeboxes, take home, and decorate them. I spray painted these Sketchers boxes and then covered them with stencils.
Step 2: Gather Supplies

Here are the supplies you’ll need: cardboard coat-hanger parts (crank/rods), a roll of fax paper (or something similar) for the paper scroll, cheap markers, metal coat-hanger pieces (cut and bent into “clips”), and a roll of packaging tape. You’ll also need a sharp blade, pencils, and an eraser.
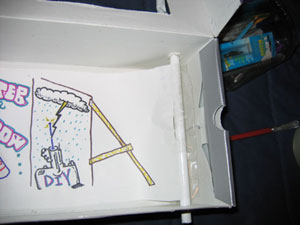
Step 3: Window Template

Take a piece of newspaper, fold it into a rectangle that easily fits the front of the shoebox (in proportion to the cardboard cranks), and trace with a pencil.
Step 4: Window Cutout

Take your blade and cut out the traced window. Keep the cut-out part for working with the fax paper (See Step 8).
Step 5: Crank Measures
At the top of the box (above the cut-out window) take your newspaper rectangle and find the center of the shoebox.
Mark the center with a pencil or marker. Use your cardboard crank to find the center between your cut-out window and the edge of the box.
Go back to where you marked the center of the top, and mark the space where you’ll make a hole to insert the crank.
Do this three more times on the other top side and both sides of the bottom. This will give you 4 exact locations to create holes to insert your cranks.
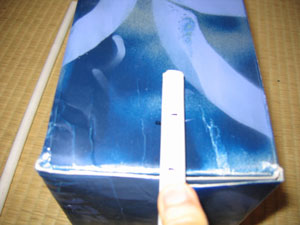
Step 6: Make Holes
Take a sharp-pointed knife and make holes at the 4 marks that you made in Step 5 .
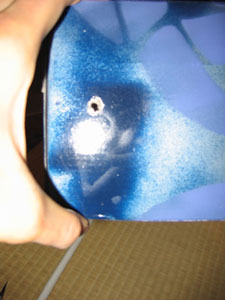
Do not make them larger than the width of the coat-hanger rod. On the coat-hanger rod, make holes in the bottom part, eyeballing the distance from the tip on both rods.

Insert the rods and make a second set of holes above the top edge of the shoebox.
Step 7: Insert Rods, Pin, and Create Cranks
Insert the rods into the holes.

Take your bent metal coat-hanger clips and insert them into the holes you made on the rods.
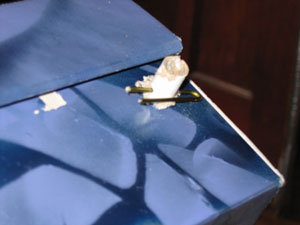
To make the crank part of the rod, measure the width of your hand and bend it in proportion to that measurement.

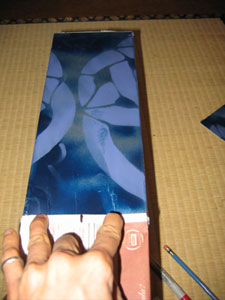
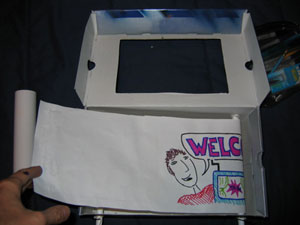
Step 8: Create the Scroll
First, use the cut-out part of the shoebox to get an idea of the proportion of your screen area. For this box, I used a pencil to create sight lines down the length of the scroll. You may have to trim the paper to fit the shoebox width before you insert it on the rods.
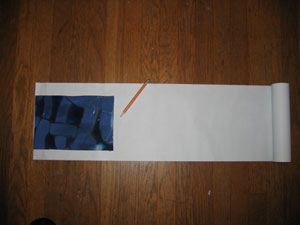
Second, pencil in your story.
Finally, ink your story.
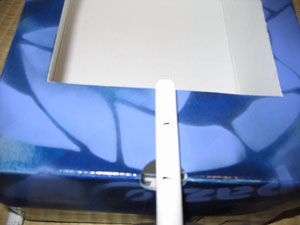
Step 9: Insert Scroll
Note: You may have to take a pair of scissors and trim the scroll to fit the shoebox. First, take one of the ends of your scroll (for this crankie, I started at the end of the story end) and tape it to the corresponding rod.
Roll the scroll onto that taped rod until you can tape the other end on the other rod.
Remember: The English language, and sequential art in general, reads left to right. You should set up your story to scroll the same direction that you’d read this paragraph.
Step 10: Rewind Scroll (if needed) and Perform
Rewind your story scroll.
Run through your performance a few times to get comfortable with holding the crankie and rotating the cranks. Note: All parts are paper and may wear quickly.
Perform and enjoy!

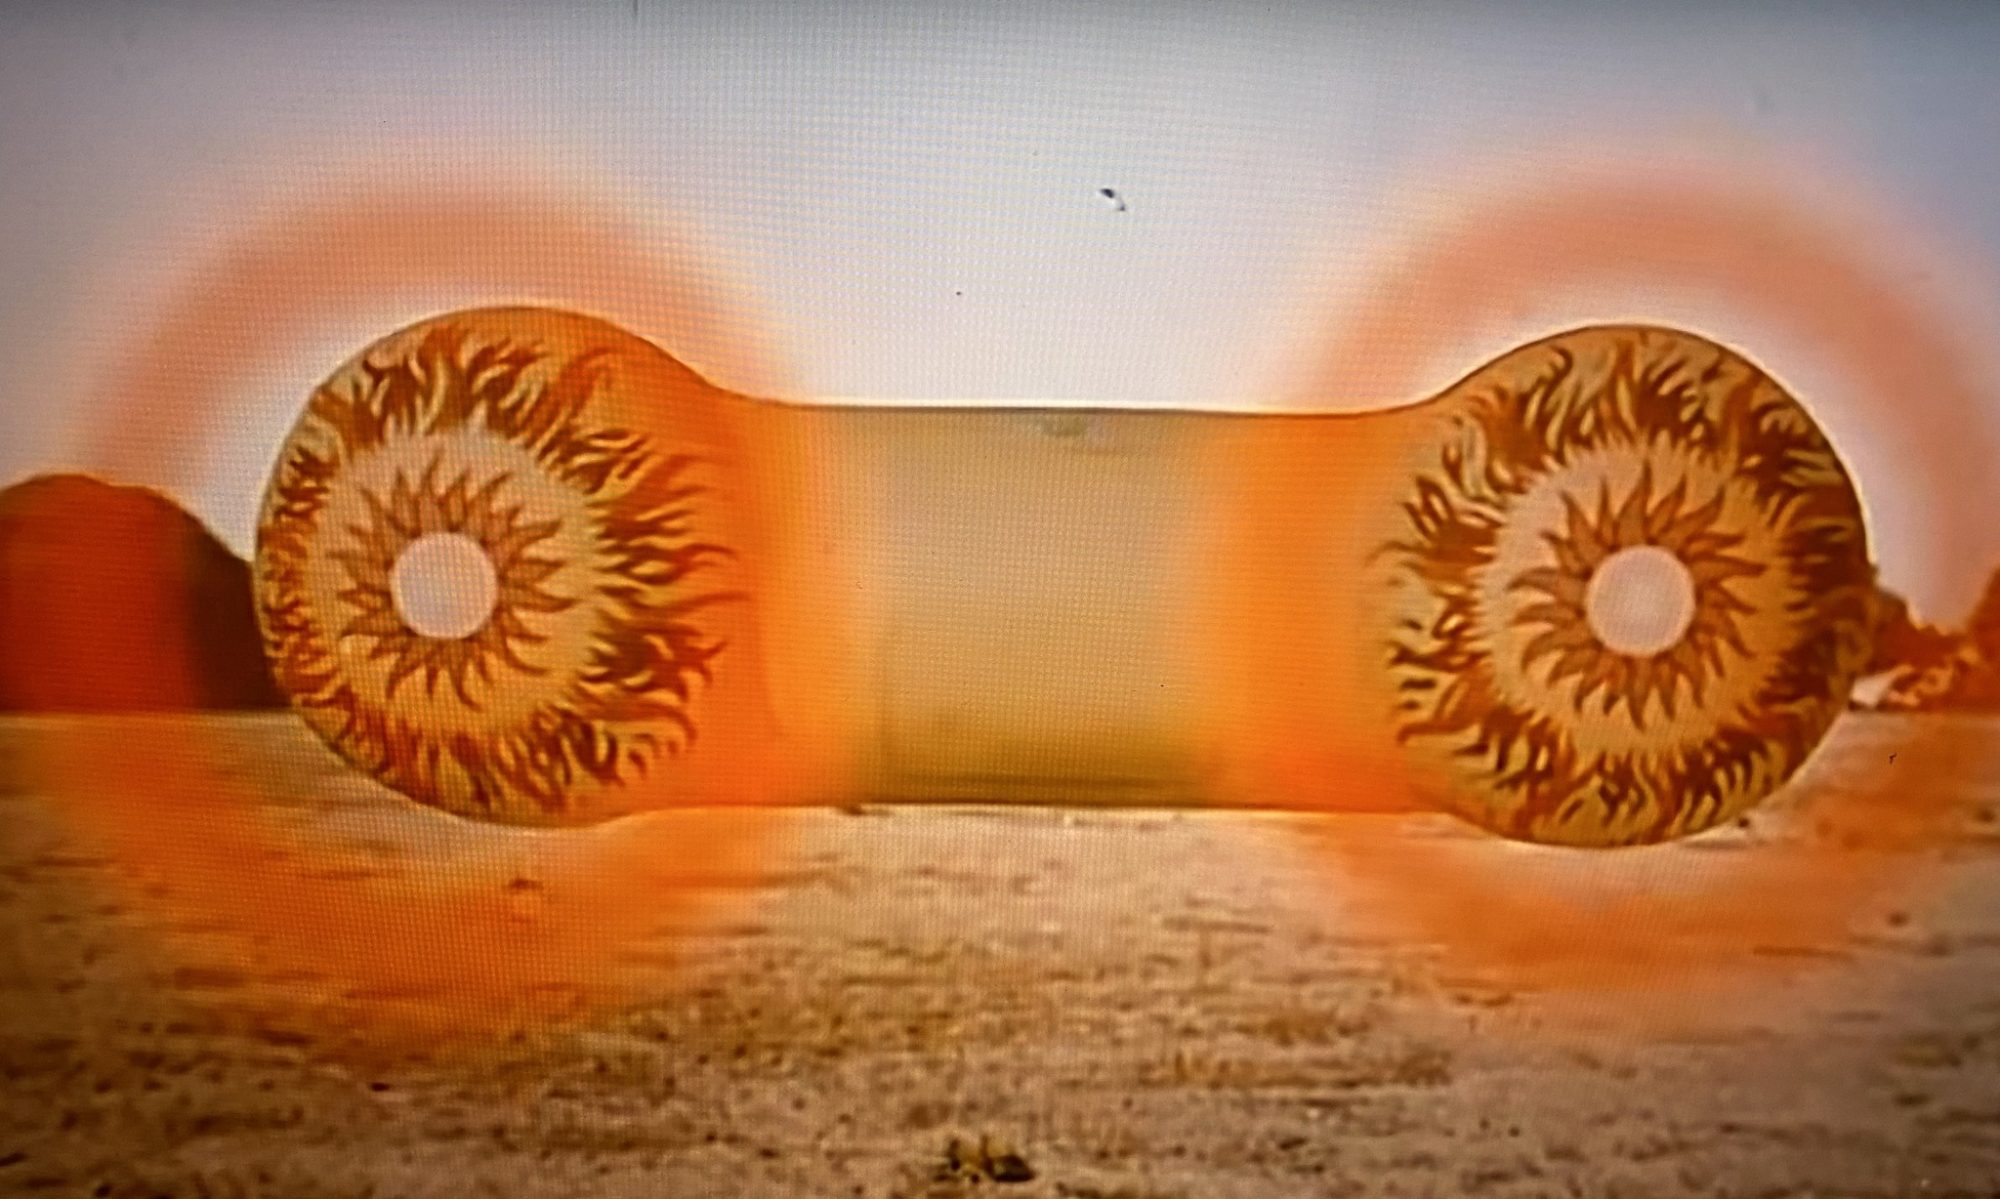
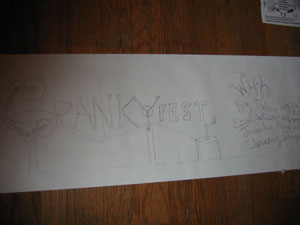
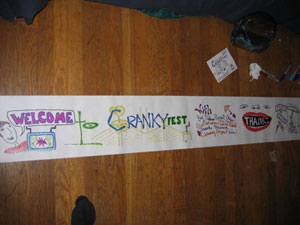
Some Examples of Crankies

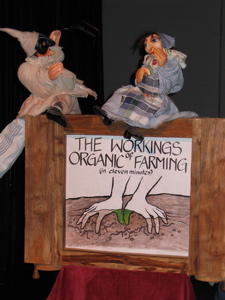
Big Tadoo Puppet Crew @ CRANKYfest
Eco Artisans @ CRANKYfest
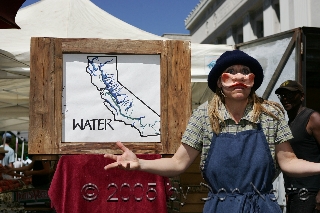
Another Eco Artisans Pic
Other Links:
The Cranky Archives
CRANKYfest 2005
History of a Crankie/Cranky
Another Crankie/Cranky Pic, and here
One Reply to “Make a Shoebox Crankie”